一、关闭防火墙
    # systemctl stop firewalld.service

    # systemctl disable firewalld.service

    # sed -i 's/SELINUX=enforcing/SELINUX=disabled/' /etc/selinux/config

    # grep SELINUX=disabled /etc/selinux/config

    # setenforce 0

    # reboot
二、配置yum
- 安装wget
# dnf -y install wget
- 删除系统yum
# rm -rf /etc/yum.repos.d/*
- 下载阿里yum
# curl -o /etc/yum.repos.d/CentOS-Base.repo https://mirrors.aliyun.com/repo/Centos-8.repo
- 安装zabbix yum
# rpm -Uvh https://repo.zabbix.com/zabbix/5.5/rhel/8/x86_64/zabbix-release-5.5-1.el8.noarch.rpm
- 清除yum缓存
# dnf clean all
- 升级系统组件
# dnf -y update
三、安装zabbix系统服务
# dnf install zabbix-server-mysql zabbix-web-mysql zabbix-apache-conf zabbix-sql-scripts zabbix-selinux-policy zabbix-agent
四、安装配置数据库
       # dnf -y install mariadb-server
       # systemctl start mariadb.service
       # systemctl enable mariadb.service
       # mysql -uroot -p
        password    //直接回车
        mysql> create database zabbix character set utf8mb4 collate utf8mb4_bin;
        mysql> create user zabbix@localhost identified by 'zabbix';
        mysql> grant all privileges on zabbix.* to zabbix@localhost;
        mysql> quit;
五、 导入初始架构和数据,系统将提示您输入新创建的密码。
# zcat /usr/share/doc/zabbix-sql-scripts/mysql/create.sql.gz | mysql -uzabbix -p zabbix
六、 为Zabbix server配置数据库
# sed -i 's/#DBPassword=/DBPassword=zabbix/' /etc/zabbix/zabbix_server.conf
七、启动Zabbix server和agent进程,并为它们设置开机自启。
        # systemctl restart zabbix-server zabbix-agent httpd php-fpm
        # systemctl enable zabbix-server zabbix-agent httpd php-fpm
八、配置zabbix前端
浏览器打开 http://server_ip/zabbix/setup.php
配置刚刚设置的数据库密码

九、安装完成

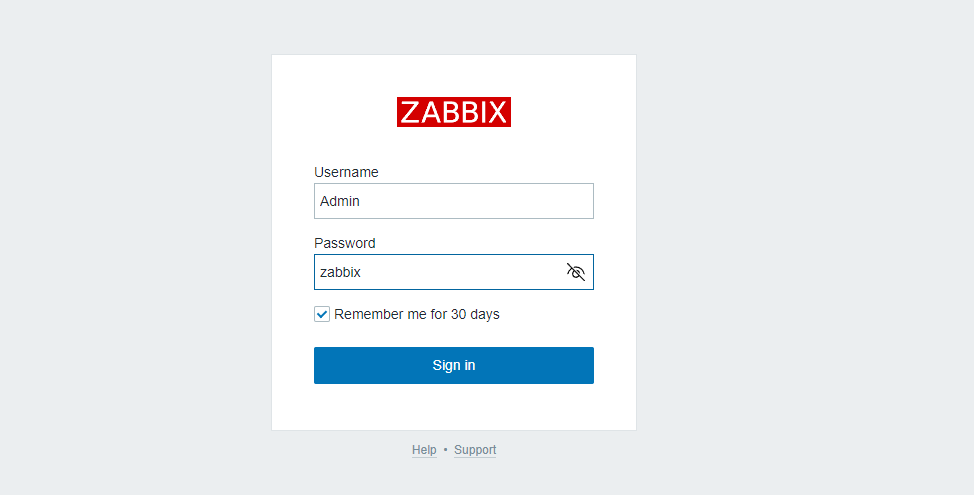
十、登录
http://server_ip/zabbix/index.php
账号:Admin
密码:zabbix